Using Saddle Clamps to Reduce Tube Cutting on Longer Runs
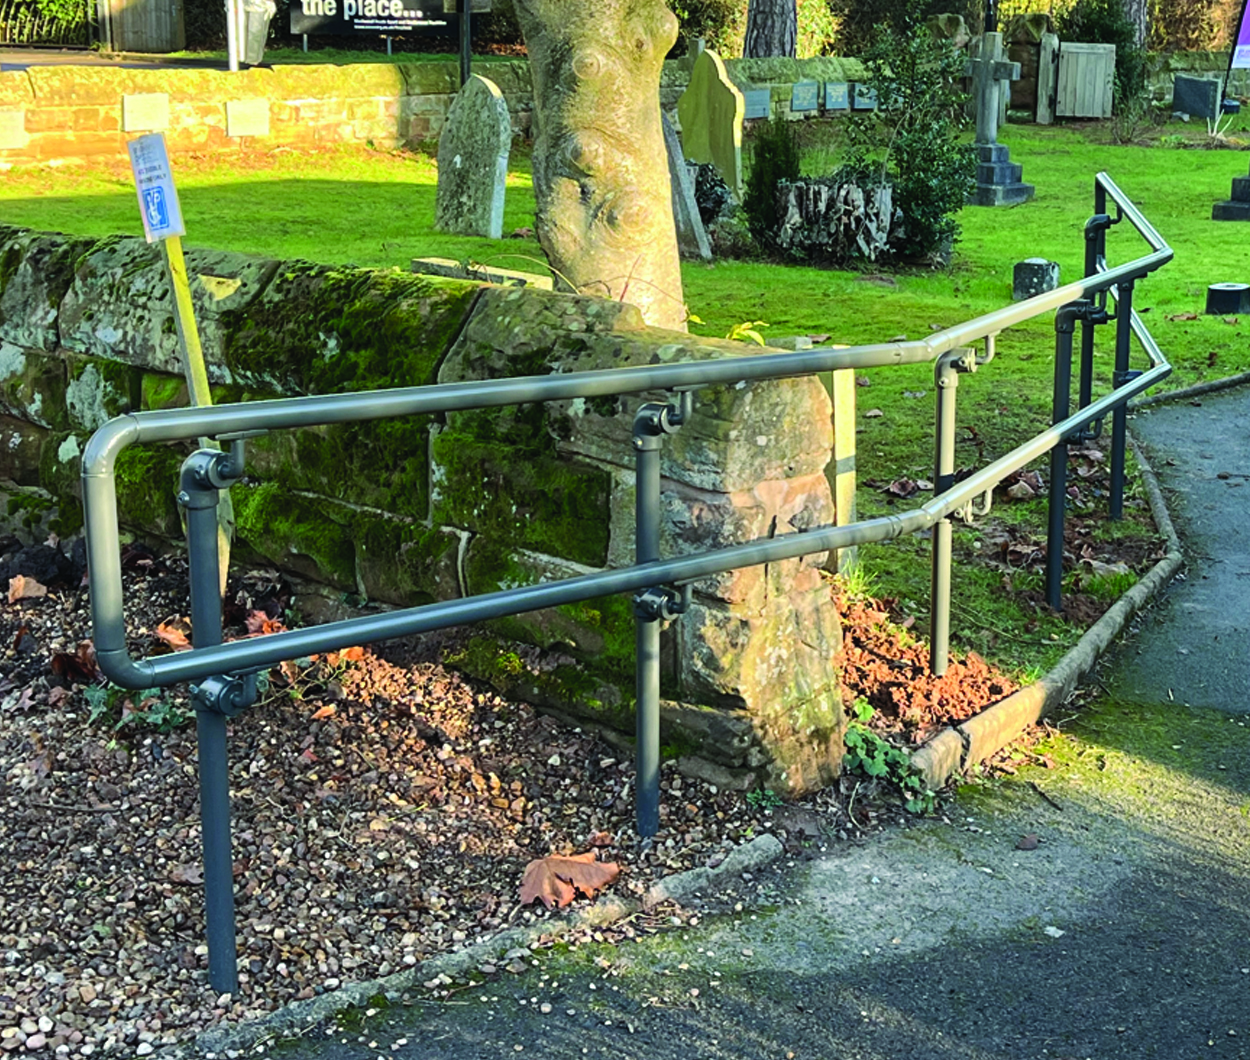
If you have a straight run of DDA handrail to build, it is worth considering our range of Saddle Clamps. Rather than supporting the horizonal tube via integral expansive fittings, which requires the horizontal tube to be cut at every upright, these saddle clamps are attached to the underside of the horizontal, while still attaching to the upright in the same way as our full range. The benefit is that the horizontal rail can be as long as your site access allows, up to our maximum stock sizes. Please note however that the longest tube that we can powder coat is 3.2 metres. You then need either a pop riveter or self-drilling screws.
If this particular system does not meet your specific requirements/design however, the beauty of our DDA Range is our fittings can be configured to make any guardrail system you wish. You can find all our DDA How To Guides here. If you need further assistance or have any sketches you wish for us to look over and advise, please contact us on 020 8254 2626 or email sales@alvinkeyclamp.co.uk
Step 1
Space out and install your upright tubes in the same way as with our standard DDA range, see our upright spacing guide here. If you are fixing to a wall, space out where you will be fitting the D746 wall clamps.
Step 2
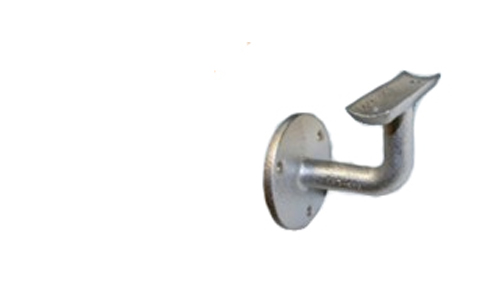
The D748 clamp fits into the upright clamps exactly as our other fittings do. Fit them to every post as required and set at the approximate angle required. Lightly tighten the grub screw to temporarily hold the clamp at the correct angle.
Step 3
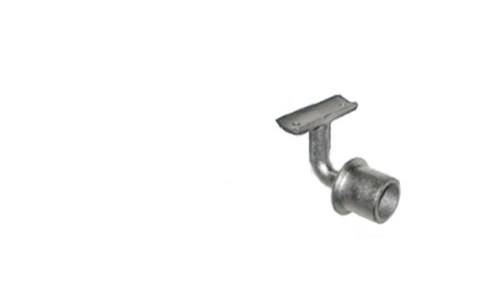
Lay your horizontal tube onto all the required D748 saddles. Make any fine adjustments to the angle of the D748 by loosening the grub screw and rotating as desired, before fully tightening to 39Nm torque. You may want to temporarily strap the tube in place or ask a colleague to hold it in place. If you are fixing directly to a wall using the D746 it may be easier to fix some or all of the clamps to the horizontal tube first, to help ensure you drill your fixing holes in exactly the right place on the wall.
Step 4
Fix through the saddle clamp to the underside of the tube. You can do this either by drilling a hole in the underside of the tube and using a pop rivet gun to secure, or you can use self-drilling screws.
Step 5
You can form a join to the next horizontal tube at a corner or gradient change exactly as per our guide here. Alternatively, if the rail needs to continue on a straight run, you can use an A09-7 in-line joiner and two D797 sealing rings. This joint must be within 500mm of an upright or D746 wall fitting.
To meet Part K or Part M of the building regulations, handrail should "not become excessively cold or hot to touch" and you should “ensure that the handrail will contrast visually with the background against which it is seen without being highly reflective”. This can be achieved through either Powder Coating or painting the handrail. Very dark colours may get hotter in the summer sun. Find out more information on our Powder Coating service here.
Also ensure the handrail finishes with an End Loop Kit.

Telephone
London: +44(0)20 8254 2626
Sheffield: +44(0)114 312 2250

WhatsApp Text/ Picture Message
Number: 020 8254 2626

Scan the QR Code to start a WhatsApp chat with us


