Main Image
DDA Handrail With Gradient Change
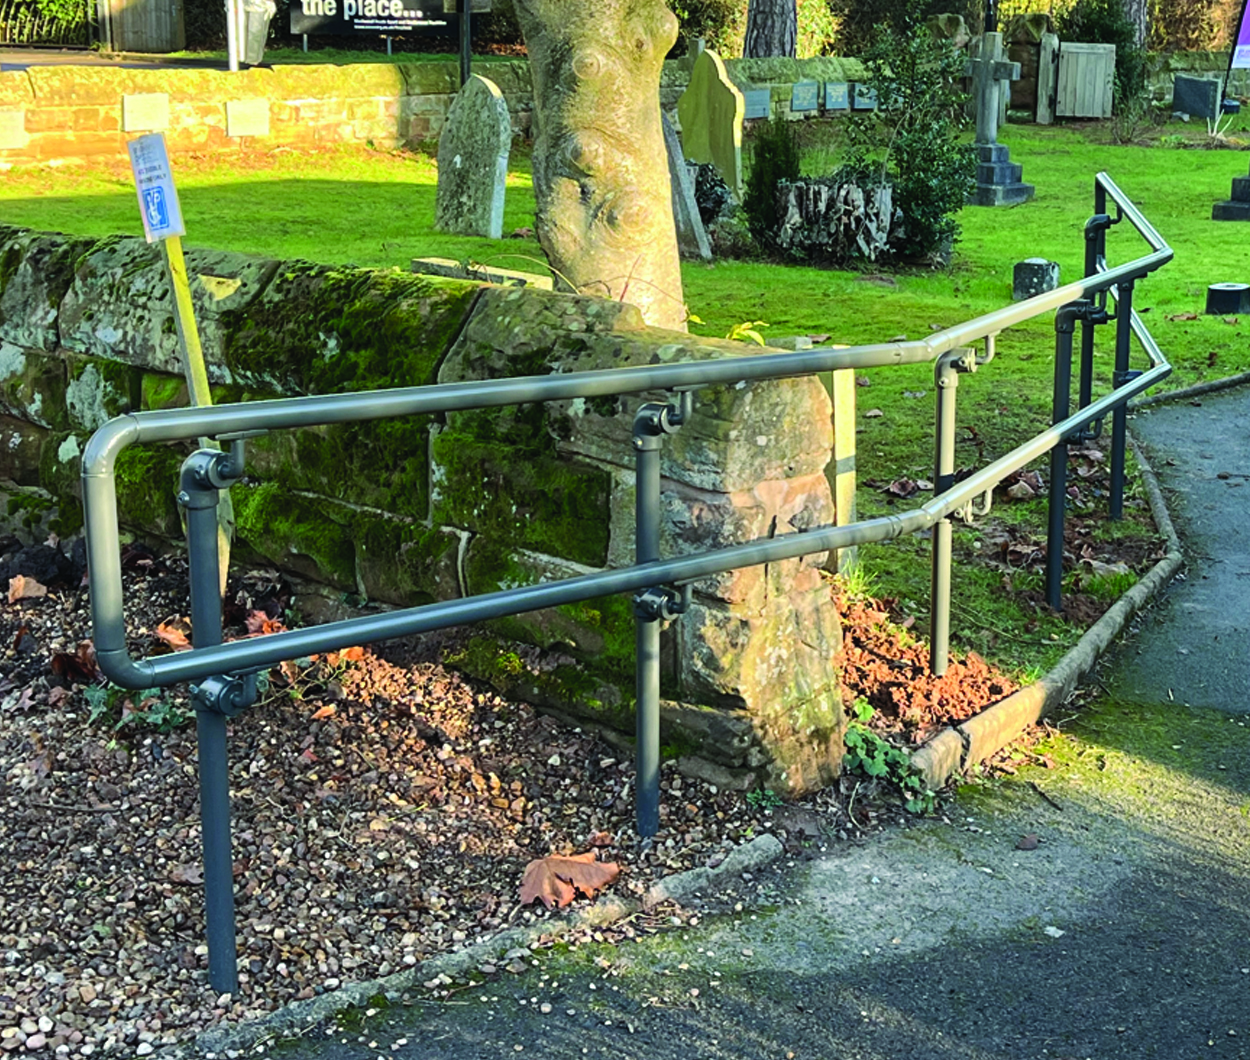
The vast majority of DDA handrails are fitted on or around access ramps or staircases. Changes of gradient are a common feature of these areas and they can be easily accommodated using our DDA range. Below we have detailed a simple example handrail for a staircase, with step by step instructions.
If this particular system does not meet your specific requirements/design however, the beauty of our DDA Range is our fittings can be configured to make any guardrail system you wish. You can find all our DDA How To Guides here. If you need further assistance or have any sketches you wish for us to look over and advise, please contact us on 020 8254 2626 or. email sales@AlvinKeyClamp.co.uk

Main Image
A Quick How-To Guide To Install Your DDA Handrial With Gradient Changes
The following steps explain how to correctly place your Gradient Change kit within your handrail.
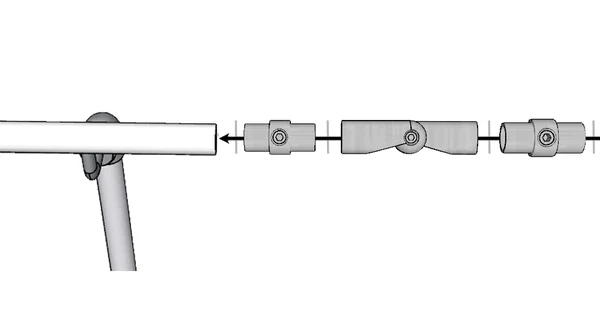
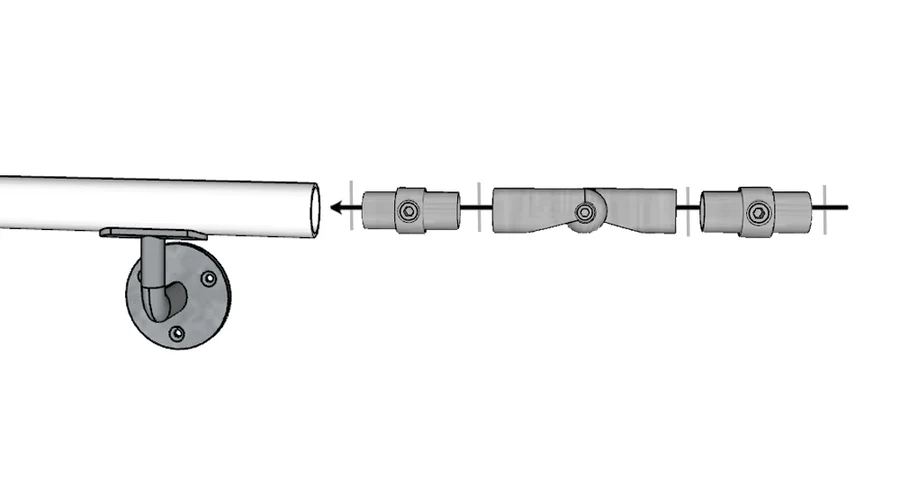
As with corner fittings, our Gradient Change clamps need to be within 500mm of an upright. Once you have worked out your overall handrail length and have worked out your maximum upright spacinges (Please refer to our previous blog regarding upright positions) you need to ensure there will be an upright within 500mm of the gradient change, if not you’ll ned to add another upright. Once you have a upright or wall clamp 500mm from the end of the run before the gradient change, connect up to 500mm of tube as required to the A09 internal joiner and two D797 sealing rings to attach to the each end of the A09 clamp (they help smooth out the join between tube and clamp). With the A09 inserted into the exposed tube, we then fix the D009 gradient change clamp on to the other end. All that's left to do is simply attach another sealing ring, one more A09 with and a then a final D797 sealing rings on each side, ready for the next tube.
Main Image
Main Image
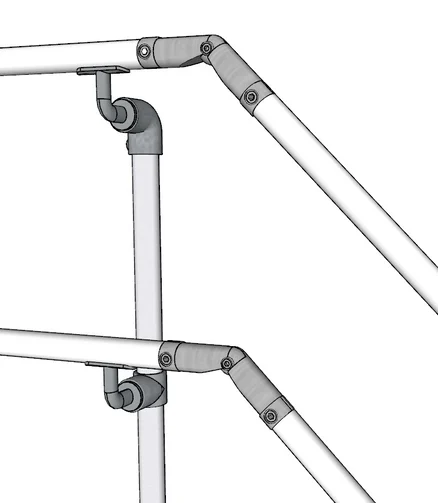
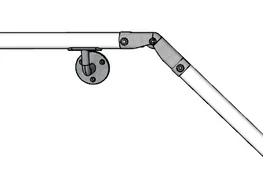
Once you have attached all the clamps together, simply angle the D009 to the desired gradient and tighten the grub screw in the middle to set the angle in place. Take your next piece of tube and insert into the exposed A09 clamp.
Main Image
Main Image
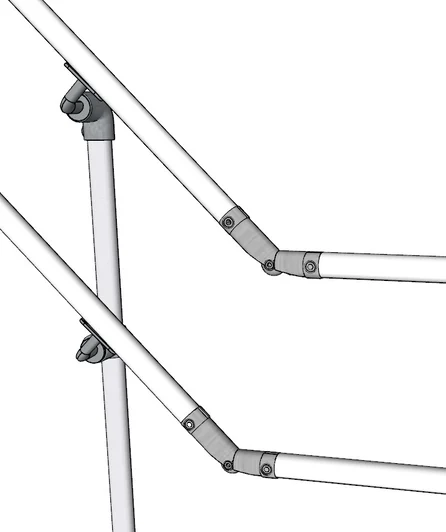
To level out the angle at the bottom of the handrail, ensure the Gradient Change Kit is installed BEFORE the last Upright Post. Part M of the Building Regulations requires at least 300mm of handrail beyond each end of the ramp or steps. Remember that you will need an upright within 500mm of the gradient change. After tightening the final gradient changes, your handrail should be complete.
Main Image
Main Image
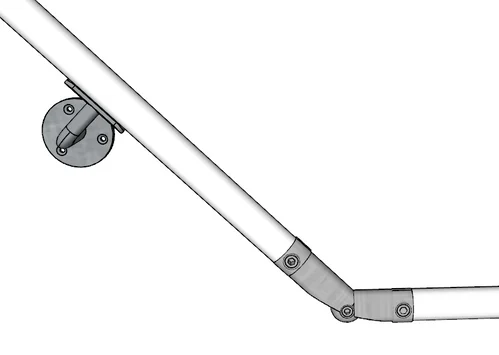
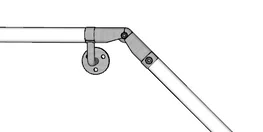
An alternative option if your upright is directly adjacent to the gradient change, the D009 clamp will fit directly onto the D747 or D745. Remember to use D797 sealing rings for the smoothest finish.
Main Image
To meet Part M or Part K of the building regulations, handrail should "not become excessively cold or hot to touch" and you should “ensure that the handrail will contrast visually with the background against which it is seen without being highly reflective”. This can be achieved by Powder Coating the hand rail. Very dark colours may get hotter in the summer sun. Find out more information on our Powder Coating here. Also ensure the handrail finishes with an End Loop Kit.
The openings at each end of the D009 clamp are the same diameter as the tube, so it is possible to fit them directly to a D747 or D745 clamp and save one A09 internal joiner.
Want To Purchase This DDA Gradient Change Kit?
Other Recommended DDA Handrail Pages
Discuss your enquiry
Share site photos
Send us plans/drawings

Telephone
London: +44(0)20 8254 2626
Sheffield: +44(0)114 312 2250


